 how-to
How to Patch Small Pool Cracks: A Step-by-Step Guide
Last Updated: November 2, 2026
Quick Summary
To patch small pool cracks, first confirm the crack is cosmetic: hairline, shallow, and unchanged over time. Clean and dry the crack, then press a suitable underwater epoxy or pool patch compound into it, and let it cure fully before refilling. Wider, offset, or growing cracks need a professional.
- Measure the crack and check for seeping water before deciding on a DIY patch.
- Use two-part underwater epoxy for concrete and plaster cracks at or below the waterline.
- Use a vinyl patch kit on a vinyl liner, since epoxy and cement will not bond to it.
- Scrape out loose material and let the surface dry before applying any patch.
- Call a professional if the crack is wider than about 1/4 inch or one edge is offset.
Table of Contents
- Identify Whether the Crack Is Small, Cosmetic, or Structural
- Gather Materials and Choose the Right Epoxy for Pool Crack Repair
- Step-by-Step: Patching a Small Crack Above and Below the Waterline
- What a Small Crack Repair Costs and When to Call a Professional
- Frequently Asked Questions
Identify Whether the Crack Is Small, Cosmetic, or Structural
Most small pool cracks are cosmetic, but a few signal structural movement. A hairline plaster crack usually needs only a patch; a crack wider than a few millimeters, running through the shell, or still growing needs a closer look, and knowing when to patch small pool cracks yourself versus calling a pro starts with that distinction.
Measure the crack's width and length and check for seeping water. Warning signs:
- Cosmetic: Hairline, shallow, unchanged over time
- Serious: Wider crack, visible water loss, or loose rough edges
- Structural: Crack that widens, offsets, or appears near steps, corners, or the deep end
Shine a flashlight across the surface to bring out the crack. If one edge sits higher than the other, call a professional. That pattern often points to shell movement.
Gather Materials and Choose the Right Epoxy for Pool Crack Repair
Most failed pool patches fail at material selection, not application. Confirm the substrate, waterline position, and cure conditions before buying; a product that bonds to dry plaster can slide off a wet vinyl liner.
Match the material to the substrate and location
- Two-part underwater epoxy: The default for concrete and plaster cracks at or below the waterline. Cures wet, hardens without shrinking, and can be sanded or painted. Best for hairline to roughly 1/4-inch cracks that are not actively weeping.
- Hydraulic cement: Fast-setting, expands as it cures, and plugs active seeps in concrete and masonry. Rigid, so it works on stable cracks and will crack again if the shell moves. Apply to a clean, damp surface.
- Pool patch compound or pool plaster: A trowelable plaster-based filler for cosmetic cracks above the waterline. Blends with the finish but is not structural; use below the waterline only if the label says water-compatible.
- Vinyl patch kit: The only correct choice for a vinyl liner. Epoxy and cement will not bond to flexible liner material and can stiffen or tear it.
- Pool-grade silicone or polyurethane sealant: Flexible option for expansion-prone joints and small cosmetic cracks above the waterline. Not load-bearing.
What to check on the label before you buy
- Cure conditions: Look for "cures underwater," "wet-surface application," or "damp cure." Dry-only products will not hold below the waterline.
- Pot life and cure time: Pot life is how long the mixed product stays workable; cure time is before water or foot traffic. Underwater epoxies often have a pot life of a few minutes to half an hour, so mix small batches.
- Substrate compatibility: Confirm the label names concrete, plaster, or vinyl. "Works on most pool surfaces" is not a stated substrate match.
- Volume and crack width: Syringe-style epoxy suits hairline cracks; putty-knife epoxy or patch compound suits wider gaps. Wrong consistency is a common reason patches fail.
Tools to have on hand
- Wire brush and small scraper or chisel for loose material
- Sandpaper (80 to 120 grit) for feathering edges
- Rotary tool with a small bit for opening hairline cracks
- Putty knife, mixing stick, and clean rags
- Nitrile gloves and eye protection
- Bucket of clean water and sponge for wetting hydraulic cement surfaces
product safety data and application instructions
Watch out: Mixing more epoxy than you can apply within its pot life wastes product and leaves a half-cured lump; mix small batches and work quickly.
Step-by-Step: Patching a Small Crack Above and Below the Waterline
Work in this order, above or below the water line.
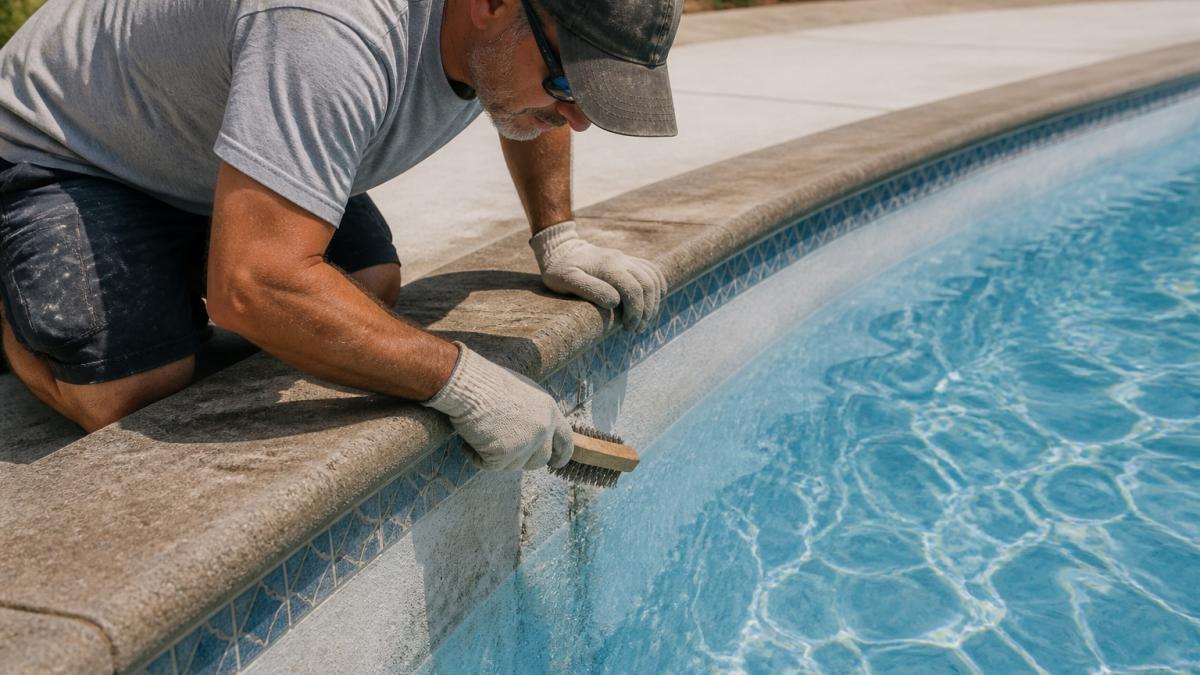
- Drain the water below the crack if it is above the waterline; otherwise lower the level so the area is dry.
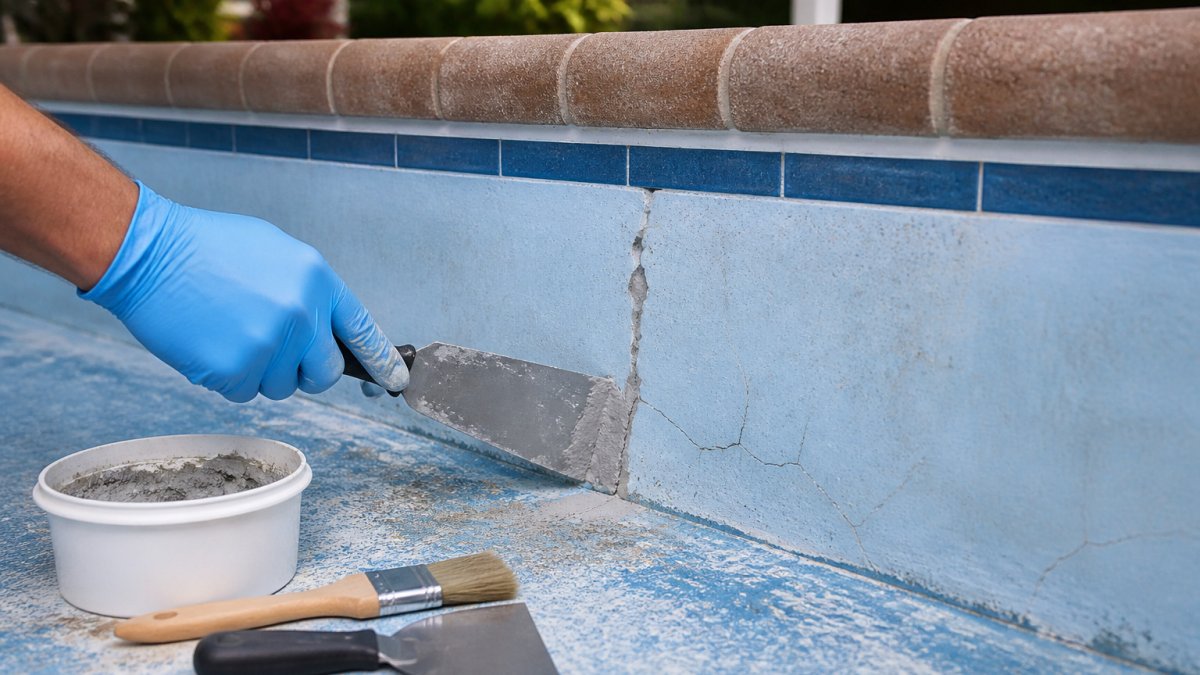
- Clean the crack. Scrape out loose material and brush away debris.
- Dry the surface. Let it sit until dry, or wipe with a clean rag.
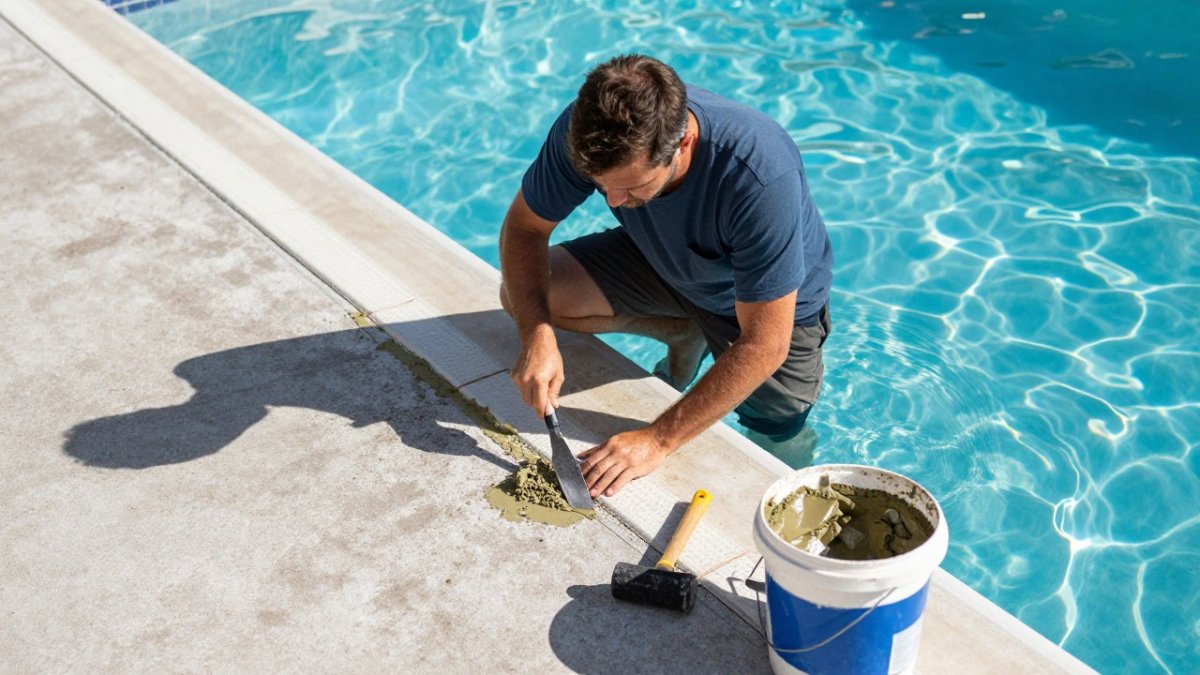
- Apply the epoxy. Press it into the crack with a putty knife and smooth the surface.
- Let it cure. Follow the label before refilling or swimming.
Watch out: Do not patch over loose material. The new epoxy will peel off within weeks.
What a Small Crack Repair Costs and When to Call a Professional
Learning to patch small pool cracks is one of the few pool jobs where DIY can make sense. For current pricing, contact PoolRepairs directly or visit the PoolRepairs website for a quote, since pricing depends on the scope of the work.
Typical cost ranges
- DIY underwater epoxy kit: roughly $20 to $60 for a small tube or syringe kit, enough for several hairline cracks.
- Hydraulic cement: roughly $10 to $25 for a small container.
- Vinyl patch kit: roughly $15 to $40, depending on patch size and adhesive.
- Pool plaster or patch compound: roughly $20 to $50 per container.
- Professional crack injection or structural repair: commonly several hundred dollars and up, with structural or shell repairs into the thousands. Get a written quote first.
Time and durability expectations
A cosmetic hairline patch is typically a 30- to 60-minute job once the surface is clean and dry, plus label cure time.
When to stop and call a professional
- The crack is wider than about 1/4 inch, or one edge is offset.
- The crack reopens after a patch, or a new crack appears nearby.
- You are losing water faster than normal evaporation (a common benchmark is more than about 1/4 inch per day in warm weather).
- The crack runs through the shell, near the steps, skimmer, return fittings, or deep end.
- You see rust stains, hollow spots, or crumbling plaster around the crack.
- The pool is losing water near electrical components or the pump.
How to verify the repair
Mark the water level on the skimmer or tile with tape, note the time, and recheck after 24 hours with the pump off.
Watch out: Do not drain a pool to chase a small crack without first confirming the shell and water table can handle it, since an empty pool can be damaged under hydrostatic pressure.
The article gives these price ranges and time expectations for small pool crack repairs, so a reader can compare DIY costs against professional work at a glance.
| Item | Typical cost or time | Note |
|---|---|---|
| DIY underwater epoxy kit | $20 to $60 | Enough for several hairline cracks |
| Hydraulic cement | $10 to $25 | Small container |
| Vinyl patch kit | $15 to $40 | Depends on patch size and adhesive |
| Pool plaster or patch compound | $20 to $50 | Per container |
| Professional crack injection or structural repair | Several hundred dollars and up | Get a written quote first |
| Cosmetic hairline patch | 30 to 60 minutes | Plus label cure time |
| Cosmetic patch durability | A season or more | Over a moving or leaking crack, may fail within weeks |
Frequently Asked Questions
Can pool cracks be repaired?
Most small surface cracks in concrete, plaster, and vinyl pools can be repaired with a patch material designed for pools. The repair works best when the crack is cleaned, dried if possible, and sealed with an epoxy or hydraulic cement rated for wet or underwater use. Cracks that are wider than a few millimeters, that keep reopening, or that show uneven or shifting edges can signal structural movement. In those cases, a professional inspection is the safer first step before any patch is applied.
Do you need to drain a pool to repair a small crack?
Not always. Many small cracks above the waterline can be patched with the water lowered a few inches to expose the area. Cracks below the waterline can often be repaired with underwater-rated epoxy or a hydraulic cement that cures while submerged, although the surface must be cleaned and dry-looking as much as possible for good adhesion. Draining the pool is usually reserved for cracks that are large, deep, or spread across a wide area, and any draining should be checked against local guidance first.
How do you tell if a pool crack is structural?
Cosmetic cracks are usually thin, shallow, and stable. Structural cracks tend to be wider, longer, or deeper, and they often show a visible offset where one side sits higher than the other. Other warning signs include cracks that return after a patch, new cracks forming nearby, water pooling around the pool deck, or soil erosion beside the shell. If any of these appear, the crack may reflect movement in the structure rather than a surface defect, and a professional should evaluate it before you invest in a repair.